

How to Measure Microbore Heating Pipe: Is It 8mm or 10mm?
Quick answer
Measure the outside diameter of the actual heating tube with a suitable calliper. An 8mm or 10mm reading identifies the pipe size, but does not by itself confirm valve, reducer or plastic-pipe compatibility.

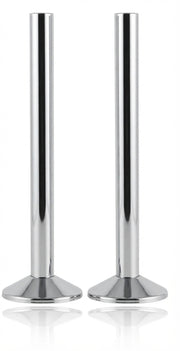
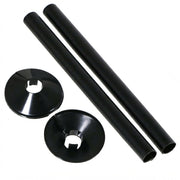
Fitting reference only. Appearance does not confirm dimensions, thread or suitability for a particular valve and pipe.
Once the pipe size is identified, our valve buying guide brings together the remaining shape, control and fitting-space checks.
The useful measurement for identifying 8mm or 10mm metric microbore heating pipe is its outside diameter. Measure an accessible section of the actual tube—not the valve nut, a decorative cover or the distance between two pipes.
Once you have identified the size and material, use the radiator valve reducer guide to check what else the proposed connection needs.
Start with an accessible, undamaged section
A vernier or digital calliper gives a clearer reading than estimating against a ruler. Choose a visible straight section that is not flattened, heavily coated or hidden behind a sleeve. Let hot pipework cool before handling it.
You do not need to undo a valve, cut the pipe or drain the heating just to measure an accessible outside diameter. If there is no suitable exposed section, ask the installer to identify the pipe rather than opening the joint to find out.
Measure across the outside of the tube
- Check that the calliper is set to millimetres and reads zero when closed.
- Place the external measuring jaws squarely across the tube. Take the measurement away from a fitting or previously compressed area.
- Close the jaws gently until they touch both sides. Do not squeeze or flatten plastic or soft tube.
- Record the reading, then check another accessible position. Where practical, check across a different direction to spot an out-of-round section.
A sound metric tube measuring approximately 8mm outside diameter points towards an 8mm pipe size; approximately 10mm points towards 10mm. Paint, coatings, damage and measurement error can affect the reading. If it falls between sizes or varies substantially, do not round it to the part you hope will fit.
Five measurements that do not identify the pipe size
- The valve nut: its outside dimensions are not the tube diameter.
- A pipe cover: a decorative sleeve can hide a smaller tube.
- Pipe centres: the centreline distance between two pipes describes their spacing.
- The radiator-side thread: it is a different connection from the pipe inlet.
- A photograph alone: perspective and missing scale can make 8mm and 10mm pipe difficult to distinguish.
Do not scrape, sand or strip an unidentified coating simply to obtain a reading. Record what you can see and let the installer decide how the pipe should be identified and assessed.
Record more than a number
Write down the outside-diameter reading, whether the tube is copper or plastic, any visible manufacturer markings and the exact valve model being considered. Include a photograph of the pipe approach and available fitting space. Unknown plastic pipe needs identification before an insert or reducer is selected.
For a radiator replacement, also record the separate pipe-centre and installation measurements. Matching tube diameter alone does not establish that the new valve and radiator will line up.
What should you do with the measurement?
A measured diameter is one input to the selection process. It does not confirm the sealing arrangement or plastic-pipe approval. For 10mm pipe, the existing 15mm-valve fit-check guide sets out the parts information to confirm. For either size, return to the main reducer guide before choosing components.

About the Author
Huseyin Aras is a Bathroom Heating & Product Sourcing Specialist at Coventry Towel Radiator with over 18 years of experience in towel radiators, bathroom heating systems, supplier sourcing, and modern home comfort solutions.
About Huseyin and his guides